I’ve added a hobby project to my GitHub profile that has been given the title “Apps” as it is a progressive web app that aims to adhere to the App Shell model. The primary routes are prerendered as static HTML during the build process and are loaded lazily at runtime to ensure a smaller client-side JavaScript bundle. The source code is hosted on GitHub and comprises several components that operate within the Angular framework. Check it out at: https://kherrick.github.io/apps/
I’ve talked about an experiment with Blazor in the past, but wanted to see how it would go building something small in C# for the browser without going through that process. With .NET 7 it doesn’t seem too hard, so I went ahead and created an example repo to demonstrate.
I am relying on “JSExport” to expose C# to the JavaScript application and have decided to make things simple by using strings for the arguments and return values as well as forgetting about how inefficient this is (for what this is actually doing).
using System.Globalization;
using System.Runtime.InteropServices.JavaScript;

public partial class Calculator
{
  // ...
  [JSExport]
  internal static string add(string first, string second)
  {
    Decimal firstNumber = Decimal.Parse(first, NumberStyles.Float);
    Decimal secondNumber = Decimal.Parse(second, NumberStyles.Float);

    return (firstNumber + secondNumber).ToString();
  }
  // ...
}
Using something like DotNetJS seems more appropriate for use cases like this in the short-term, and I wonder where WASI and Wasmtime .NET solutions will wind up going forward?
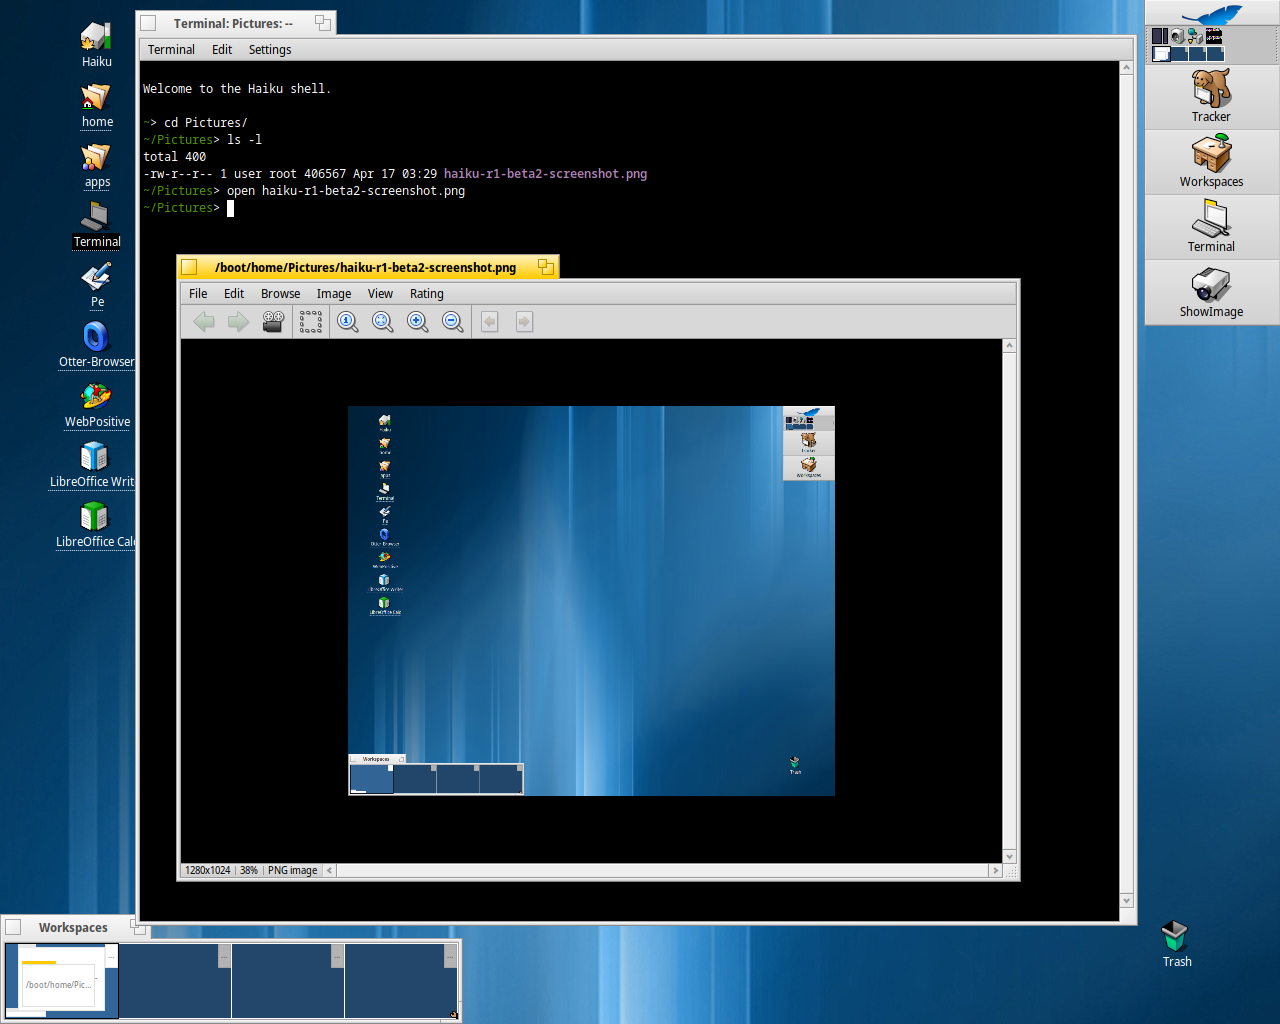
When using the terminal on my Mac, I often use the open command to get a view of the current directory in Finder and generally use it to… open up things. So, while using other operating systems, I have naturally wanted similar functionality. To my recent surprise, I found it within Haiku, and it turns out it’s coming to Debian as well!