Controlling a Lego motor with the Raspberry Pi
Monday, 03 February 2014
When the Gertboard originally came out, it was a do it yourself kit that required soldering, and it had enough pieces that made me want to wait until one was offered pre-assembled (you can still get one like the original from Tandy called the Multiface Kit). After purchasing the latest version, I tried putting one of the Lego motors we have around the house through its paces. Using one of the older models (4.5v Lego motor #6216m) and learning from the examples in the Python Gertboard Suite made crafting my own setup surprisingly easy.
The main steps were to code a motor controlling script in Python (see lego-motor-control.py), and demo it in Bash (see lego-motor.sh). I find tinkering around with these components immensely rewarding while exploring topics like the Internet of Things. This type of exploration will only get easier as time goes on, for example, I just noticed today that Gert van Loo created something called the Gertduino. It is similar to the original product, but much smaller and easier to use. What kind of fun projects could be implemented with even smaller kit like TinyDuino or Intel Edison? I do like sticking with the Pi for now, so I dug up a list of compatible shields for your perusal (or browse an even larger list of expansion boards @ elinux.org):
- 3Bpi
- X100
- BrickPi
- PiCrust
- TriBorg
- GrovePi
- AlaMode
- Arduberry
- Embedded Pi
- PiFace Digital
- PiFace Control and Display
- Adafruit Prototyping Pi Plate Kit for Raspberry Pi
- Adafruit RGB Positive 16×2 LCD+Keypad Kit for Raspberry Pi
- Raspberry Pi to Arduino Shields Connection Bridge and accessories
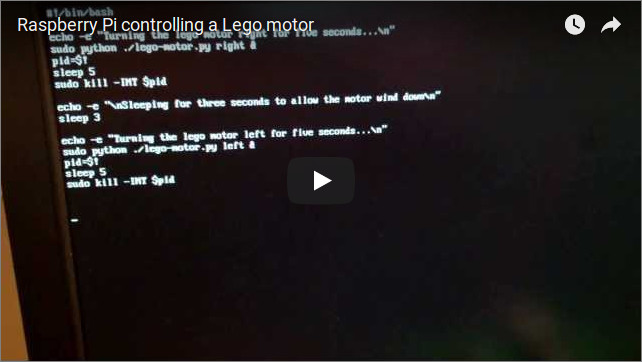
Also, check out the video to get an idea on how the Lego motor and scripts ended up working out:

lego-motor.sh
#!/bin/bash
echo -e "Turning the lego motor right for five seconds...\n"
sudo python ~/lego-motor-control.py right &
pid=$!
sleep 5
sudo kill -INT $pid

echo -e "\nSleeping for three seconds to let the motor wind down\n"
sleep 3

echo -e "Turning the lego motor left for five seconds...\n"
sudo python ~/lego-motor-control.py left &
pid=$!
sleep 5
sudo kill -INT $pid
lego-motor-control.py
#!/usr/bin/env python
import RPi.GPIO as GPIO
import collections, signal, sys
from time import sleep

# get command line arguments
arg_names = ['command', 'direction']
args      = dict(zip(arg_names, sys.argv))
arg_list  = collections.namedtuple('arg_list', arg_names)
args      = arg_list(*(args.get(arg, None) for arg in arg_names))

# set initial values
step      = 1
mota      = 18
motb      = 17
left      = motb
right     = mota
reps      = 400
hertz     = 2000
freq      = (1 / float(hertz)) - 0.0003
ports     = [mota,motb]
percent   = 100

# function to run the motor
def run_motor(reps, pulse_width, port_num, period):
    for i in range(0, reps):
        GPIO.output(port_num, True)
        sleep(pulse_width)
        GPIO.output(port_num, False)
        sleep(period)

# trap SIGINT and provide a clean exit path
def signal_handler(signal, frame):
    GPIO.output(direction, False)
    GPIO.cleanup()
    sys.exit(0)

signal.signal(signal.SIGINT, signal_handler)

GPIO.setmode(GPIO.BCM)

# initialize the ports being used
for port_num in ports:
    GPIO.setup(port_num, GPIO.OUT)
    print "setting up GPIO port:", port_num
    GPIO.output(port_num, False)

# determine direction or set a default
if args[1] == "left":
    direction = left
elif args[1] == "right":
    direction = right
else:
    direction = right

# the main loop
while True:
    pulse_width = percent / float(100) * freq
    period      = freq - (freq * percent / float(100))
    run_motor(reps, pulse_width, direction, period)
