2048 on a Touchscreen Raspberry Pi
Monday, 28 April 2014
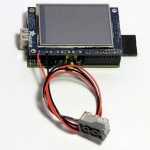
As I was checking out the latest accessories for the Raspberry Pi, I stumbled across this nice little shield at Adafruit: PiTFT Mini Kit – 320×240 2.8″ TFT+Touchscreen. Several days went by before I was certain I had to have it, and when it eventually arrived, I was not disappointed.
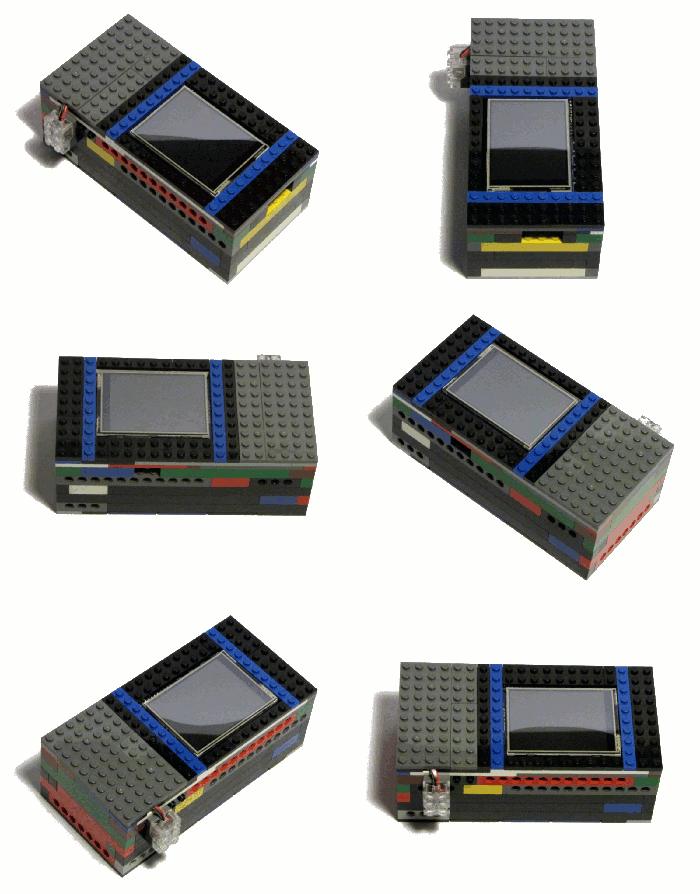
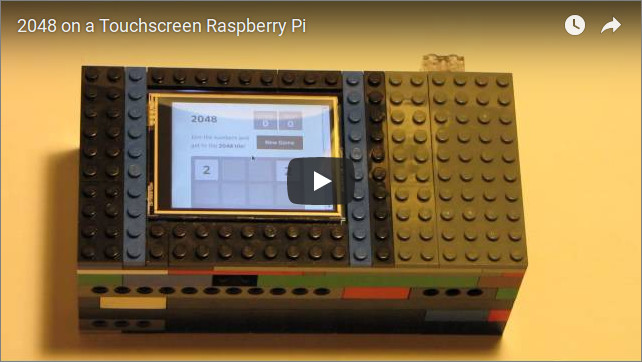
To start, I followed the excellent setup guide, which went from the soldering (hint: use thin solder and a pointed tip) and software setup all the way to instructions on the display calibration. Before, during, and after verifying that everything was working, I kept wondering about all the things I could make with this thing. What I ended up landing on was building a portable 2048 gaming system. 🙂
So, I began to do some research on how exactly I was going to control 2048 itself. At first I wasn’t sure whether I wanted to use a keyboard like peripheral to simulate the arrow keys, wire up buttons for use with RPi.GPIO / WiringPi, or to look into using swipe events.
Also I reasoned, since I didn’t plan on writing the game from scratch, running the original seemed ideal as it works in a plain ol’ web browser. And if that didn’t pan out, I would resort to booting it in command line mode, as there are a variety of C, Python, and Bash ports. Obviously there are other ways to approach this, especially if I were to be developing the game for market, but I was looking at it as a minimum viable prototype project (MVPP™). j/k
For the command line forks, the simplest way seemed to be a method involving launching the application, and then sending keystrokes such as ‘w’, ‘a’, ‘s’, or ‘d’ to /dev/tty1 using a small C utility:
s_key.c
#include <sys/types.h>
#include <sys/stat.h>
#include <sys/ioctl.h>

#define O_WRONLY   0x0001
#define O_NONBLOCK 0x2000

int main(void)
{
  int hTTY = open("/dev/tty1", O_WRONLY|O_NONBLOCK);
  ioctl(hTTY, TIOCSTI, "b");
  close(hTTY);
  return 0;
}
Another idea that came up was to start a tmux session and send keystrokes through it:
tmux send-keys -t SESSIONNAME Down
tmux send-keys -t SESSIONNAME Up
However, as much as I like the command line, for this project I wanted to avoid it for the UI. I also wondered how I would control it within X? The original 2048 didn’t seem to support using a mouse, or the touch screen from Adafruit, so I looked at utilizing XAUT or xdotool so that I could script out a solution that would be triggered from a button press. Didn’t want to do any of those either. I did arrive at the following solution though.
Auto login to Linux without a password by modifying /etc/inittab.
- look for a line like this:
1:2345:respawn:/sbin/getty --noclear 38400 tty1 - change it to something like this:
1:2345:respawn:/sbin/getty --autologin {USERNAME} --noclear 38400 tty1
Auto start LXDE, as well as Midori in fullscreen, and then make sure the default home page is set to the modified 2048.
The main difference from the original is that I have the app zoomed to 90%, and I swapped out the original touch event setup with one based on Hammer.js. This was done only to work with the touch screen and the events provided by Midori when swiping in various directions on the game board.
The only other functionality provided in the project is a listener script running in the background that is started from /etc/rc.local on bootup:
poweroff-on-gpio-23.sh
#!/usr/bin/env bash

  #wiring pi pin 4 maps to gpio-23
  /usr/local/bin/gpio mode 4 up

  while true; do
    sleep .5
    if [ `/usr/local/bin/gpio read 4` -lt 1 ]; then
      sudo poweroff
    fi
  done
This is to allow for a poweroff event to be sent to the Raspberry Pi, so that when I am done playing the game, I can get the unit to turn off without using a keyboard. Then, I power off the battery pack using a stylus on the underside of the unit.
Parts used:
- (1) Raspberry Pi
- (1) 7800 mAh USB Battery
- (1) PiTFT Mini Kit – 320×240 2.8″ TFT+Touchscreen for Raspberry Pi
Watch a video of it booting, a little game play, and the shutdown sequence here:
