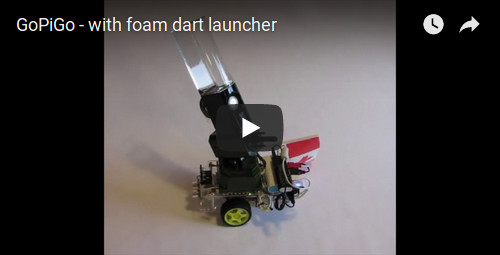
Playing around with the GoPiGo
Sunday, 04 December 2016
The GoPiGo has been exciting to work with as a platform for building robotic cars. In my usage, I started out with the base kit along with an older Raspberry Pi, and then gradually started to add pieces. I installed the wifi adapter (newer RPIs have wifi built in) for remote control, and the camera module for vision. A micro servo acts like a little arm on the side, and an ultrasonic distance sensor allows for obstacle avoidance. I even ended up including a foam dart launcher as well as a dancing water speaker for some audio with neat visual feedback.
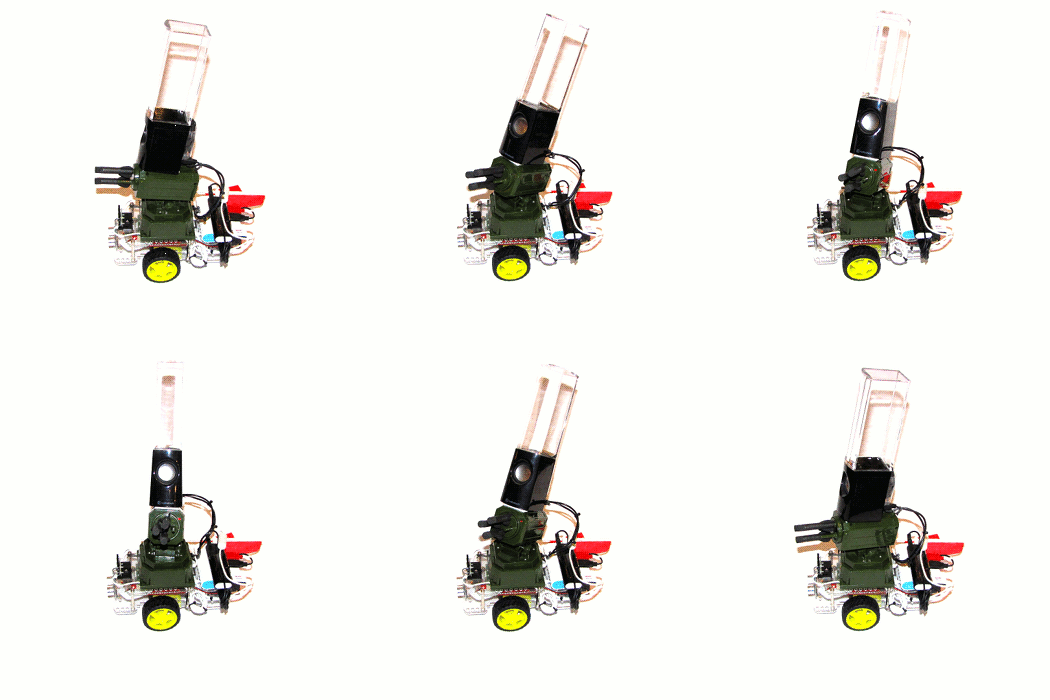
Although the GoPiGo comes with a battery pack capable of delivering up to 12 volts, I decided to also add a USB based 5200mAh battery pack to help power the 5 volt accessories. With a wide variety of project ideas, access to forums, and the pluggable nature of open source hardware and software, the GoPiGo makes for a fantastic learning environment.

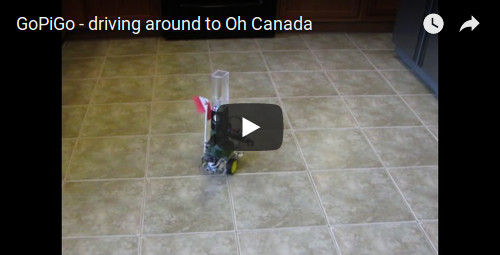
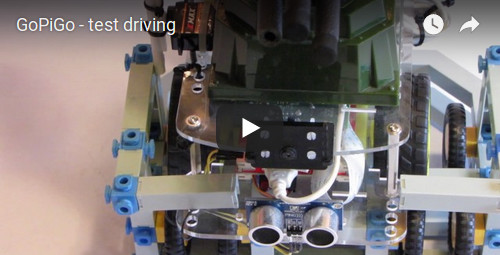
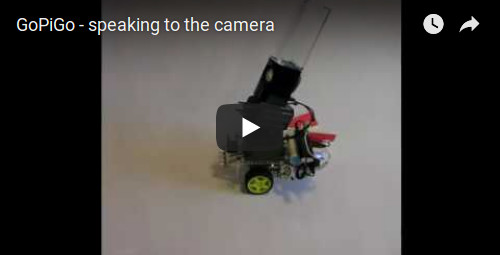
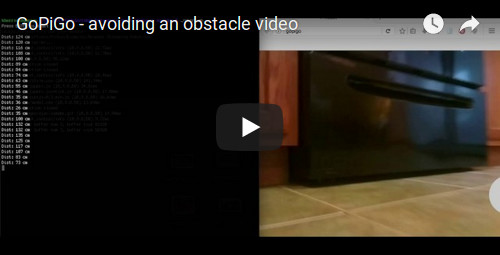
Code examples are provided in languages like C#, Java, Python, Scratch, and NodeJS. Wheel testing was difficult in the beginning, but I was assisted by the help of my children when they built a test driving platform out of Construx. This kept the rig in place while walking the contraption through its exercises. Below, you’ll find some video I took while playing with it. There’s also a screencast of the camera and distance sensor testing.
