Pi Motion – Single Page App
Thursday, 30 April 2015
I’ve been wanting to return to the motion detection setups I’ve created in the past [1, 2] on the Raspberry Pi, and update them a bit using some more recent development approaches. For example, before I used Wiring Pi’s gpio utility in a bash script and displayed the results in generated pages using PHP’s built-in web server.
In this setup I am using the very capable Cylon.js framework for the server-sent events API and for controlling the PIR sensor with the hardware button. SQLite takes up duties for storing data in the database, while Node.js and Express run the server side portion of the web application. Polymer, Web Components, and some custom design are utilized for the front end side of things.
Here are the hardware parts used:
- Raspberry Pi 2 Model B
- breadboard
- PIR sensor
- tactile button
- extension jumper wires, and miscellaneous others
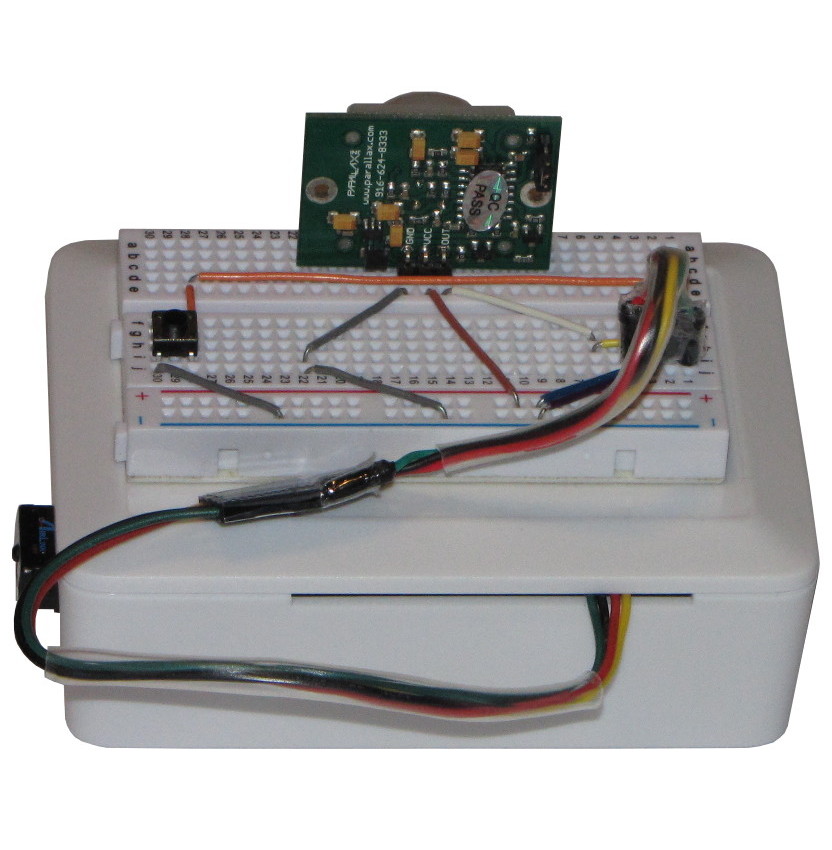
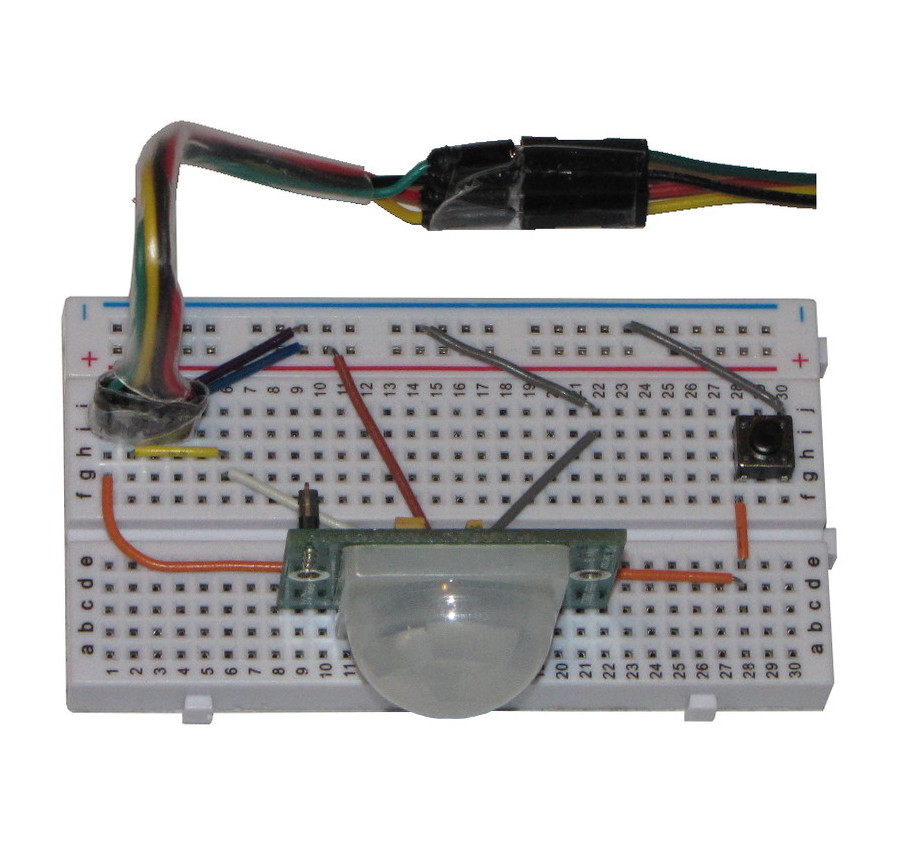
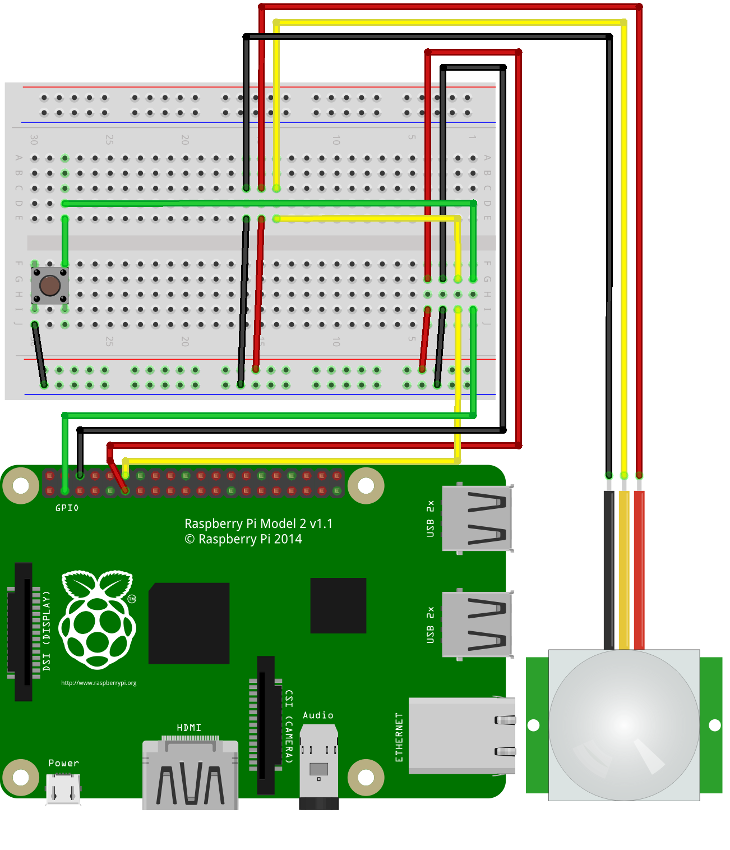
I used moldable wiring on the breadboard attempting to keep it clean and portable. The wiring that is connected to the GPIO pins on the Raspberry Pi is encased in clear heatshrink and is made into a sort of plug.
After everything is setup on the hardware end, the software side is setup.
Install Dependencies:
#!/usr/bin/env bash

cd /opt
sudo curl -O https://iojs.org/dist/v2.0.1/iojs-v2.0.1-linux-armv7l.tar.gz
sudo tar -xzpvf iojs-v2.0.1-linux-armv7l.tar.gz
sudo ln -s /opt/iojs-v2.0.1-linux-armv7l/bin/node /usr/local/bin/node
sudo ln -s /opt/iojs-v2.0.1-linux-armv7l/bin/npm /usr/local/bin/npm
Install Pi-motion:
#!/usr/bin/env bash

cd ~
git clone https://github.com/kherrick/pi-motion
cd pi-motion
bin/init.sh
Run unit tests, and see a coverage report:
#!/usr/bin/env bash

bin/gulp test
bin/gulp test-coverage
Check out the config file and change the options to access the web application from another browser (TV, phone, etc.). Next, serve the web app and cylon wiring app:
#!/usr/bin/env bash

bin/gulp serve
With just the defaults set, open a browser on the Pi, and go to https://localhost:3000 to view the Robeaux dashboard that is built into the Cylon.js framework (be sure to allow the browser to view the content behind the self signed certificate). Then browse to http://localhost to view the web application.
The main task runner installed is gulp and it exposes several pre-configured tasks such as:
- serve (to start the Cylon.js and Express code)
- init-database (to initialize a brand new database)
- compile-js (to compile the front end code using webpack)
- test (to run the mocha unit tests)
- test-coverage (to get a unit test coverage report using istanbul)
- lint (to lint the JavaScript using jshint)
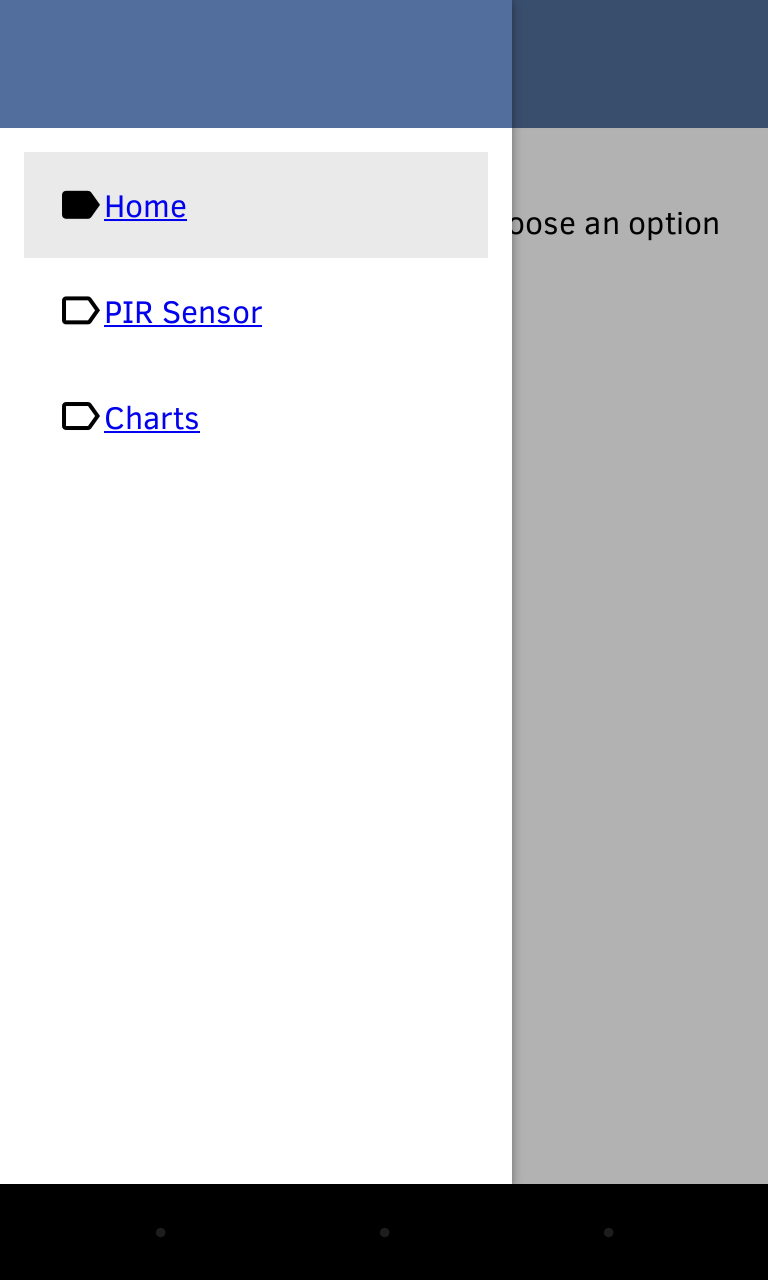
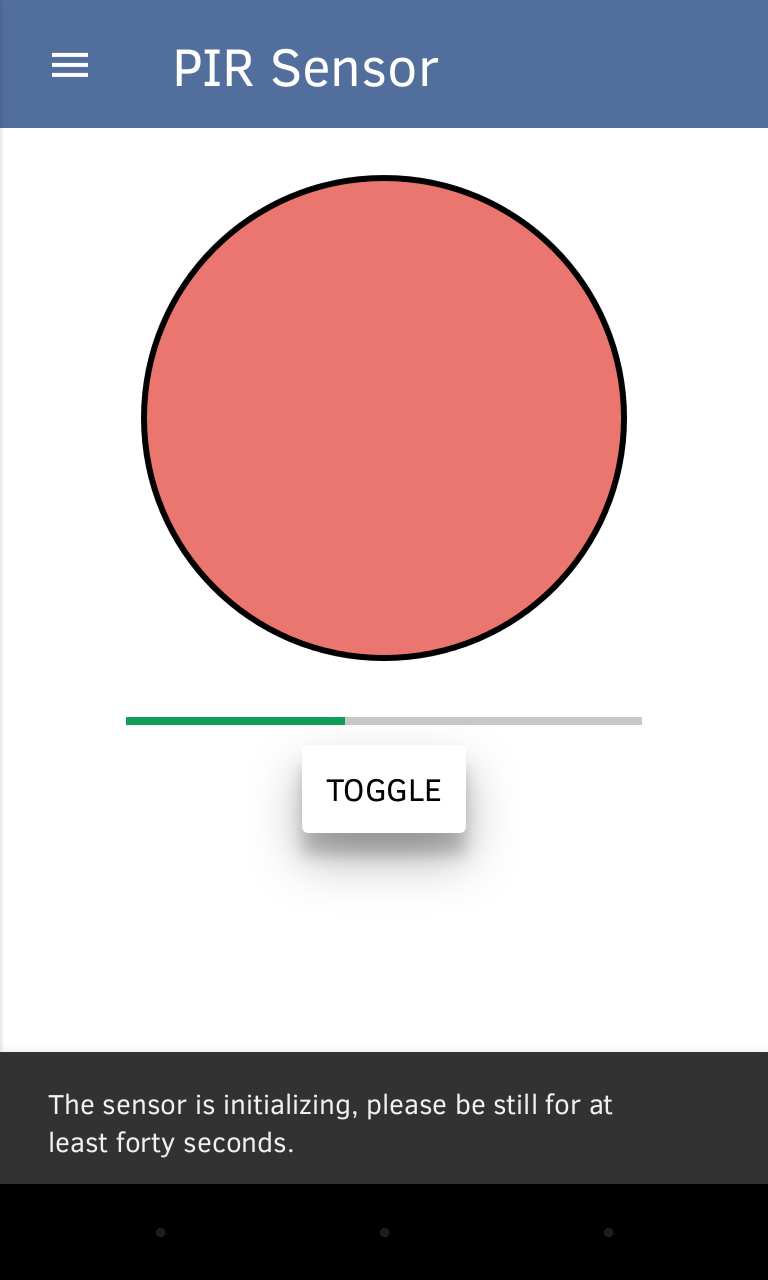
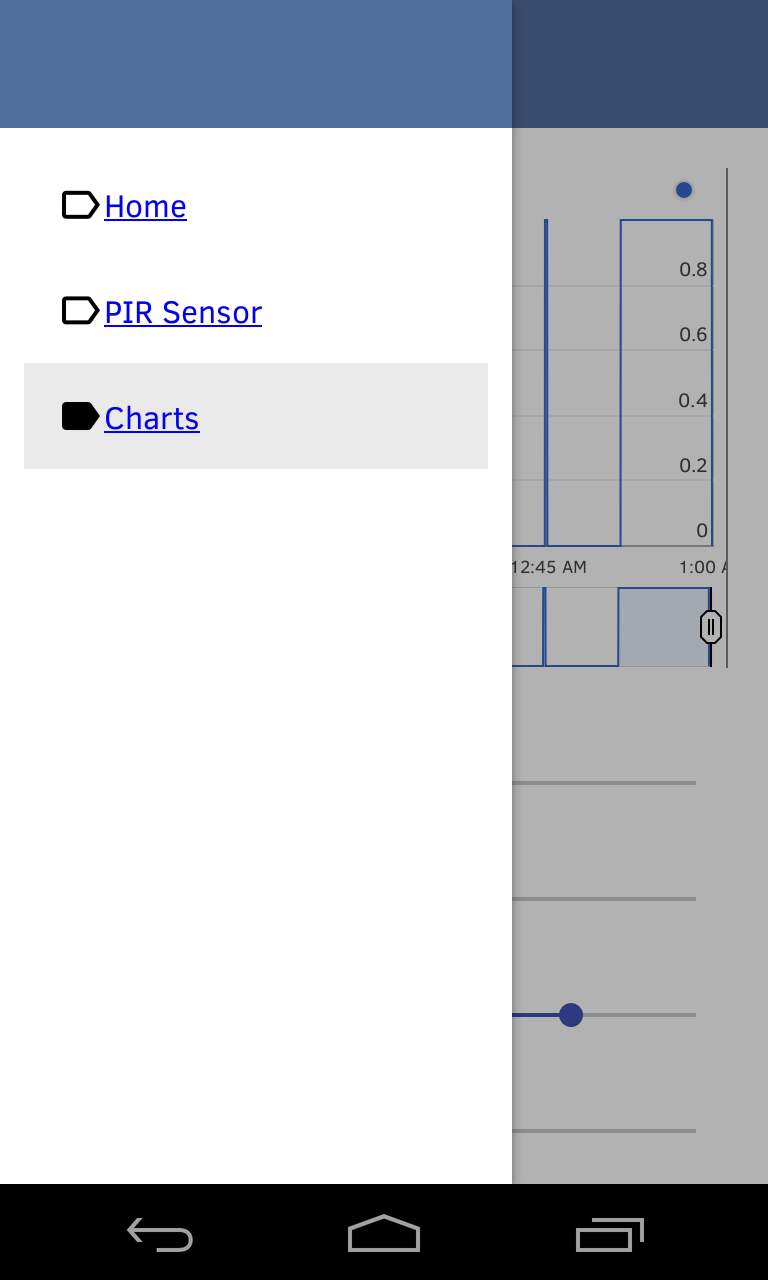
Once everything is setup and running the user can activate the PIR sensor. To do this in hardware, press the button on the breadboard. Using software, touch the hamburger menu, touch the “PIR Sensor” menu item, and then touch the “Toggle” button under the sensor indicator (large red circle).
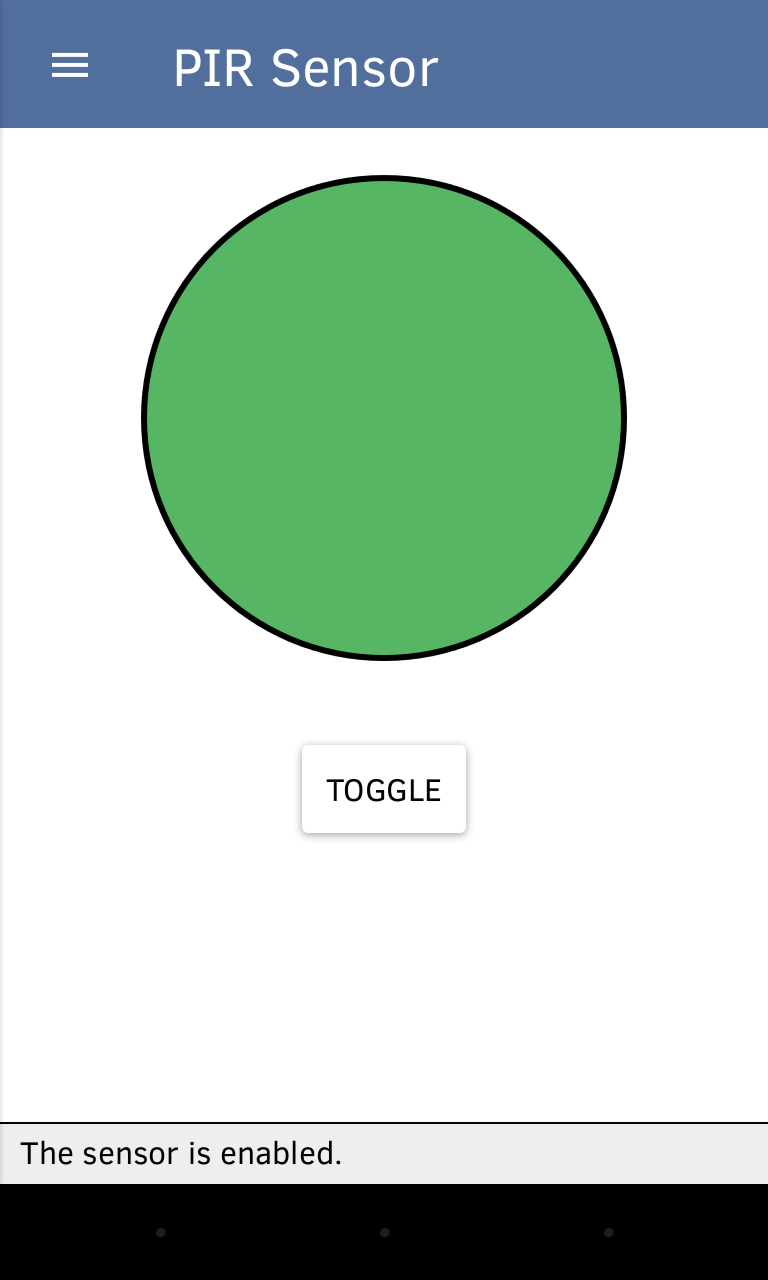
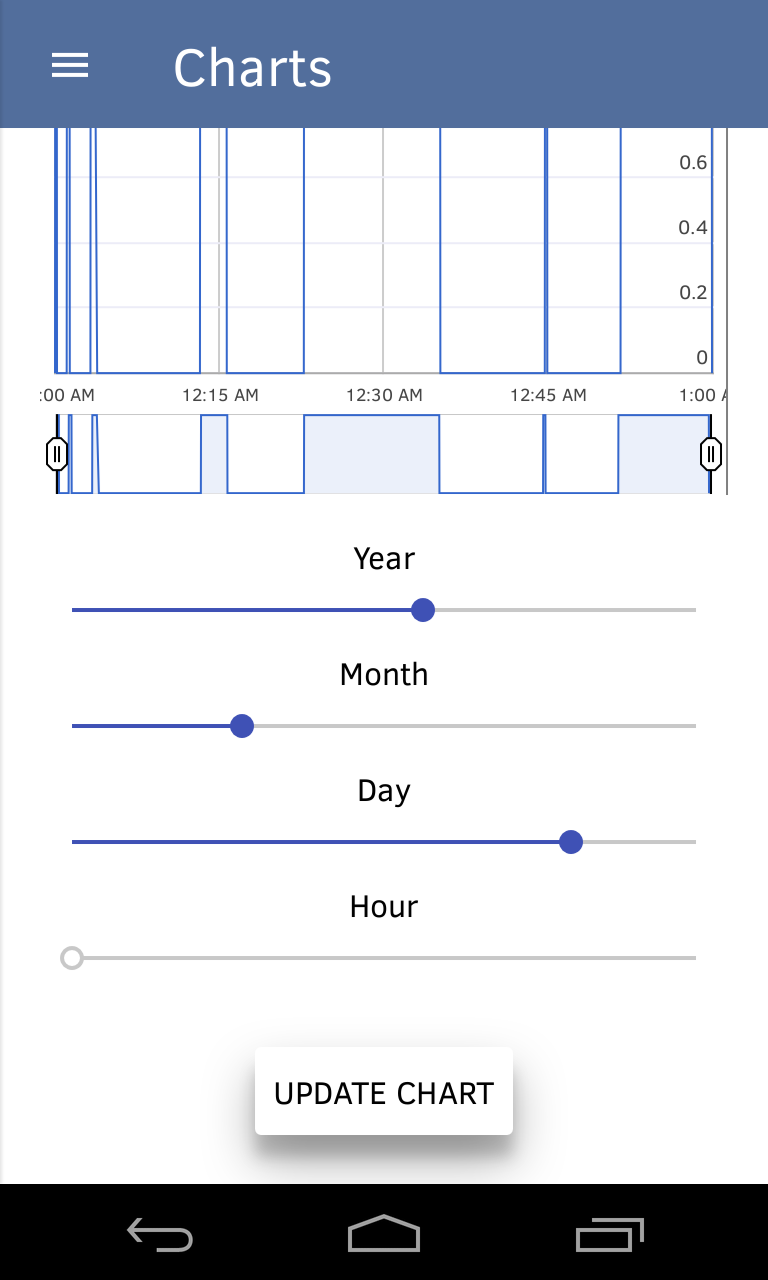
After a forty second warm up time the PIR sensor will begin sensing movement. When it activates, the sensor indicator will turn green and the movement data will be logged to the SQLite database.
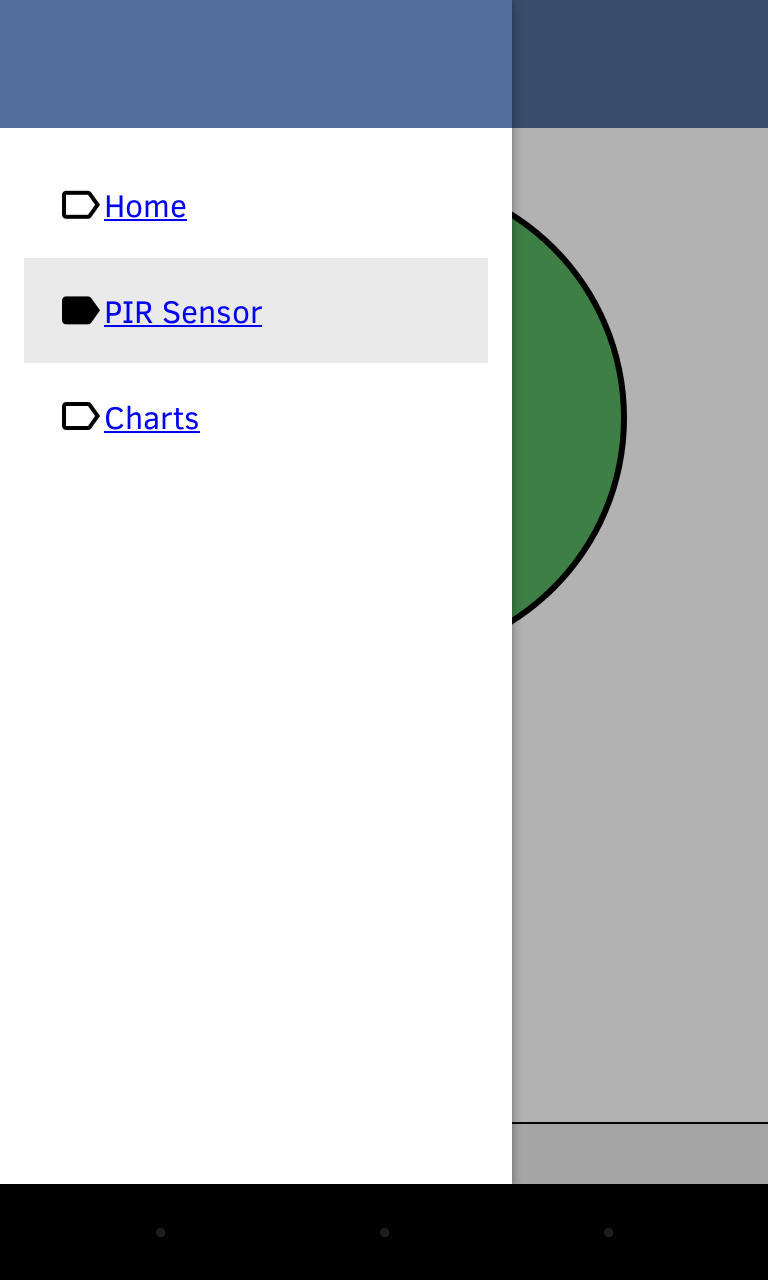
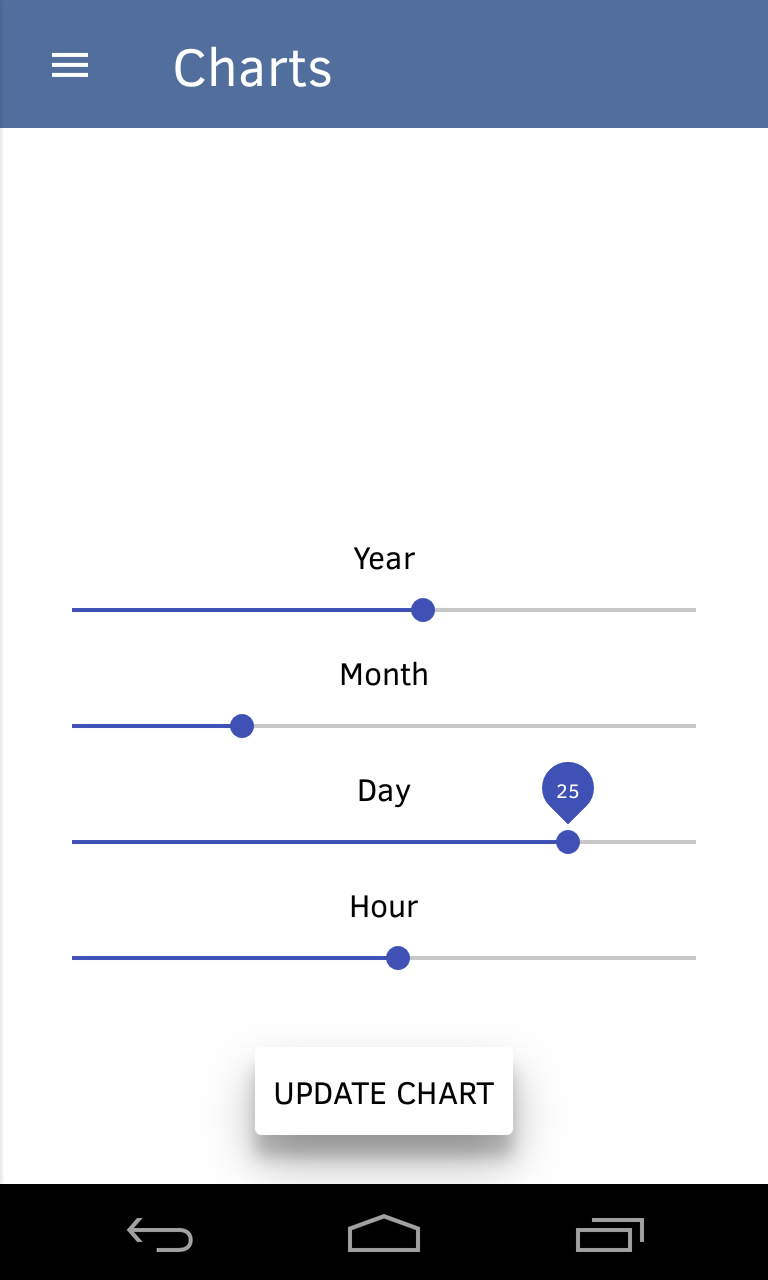
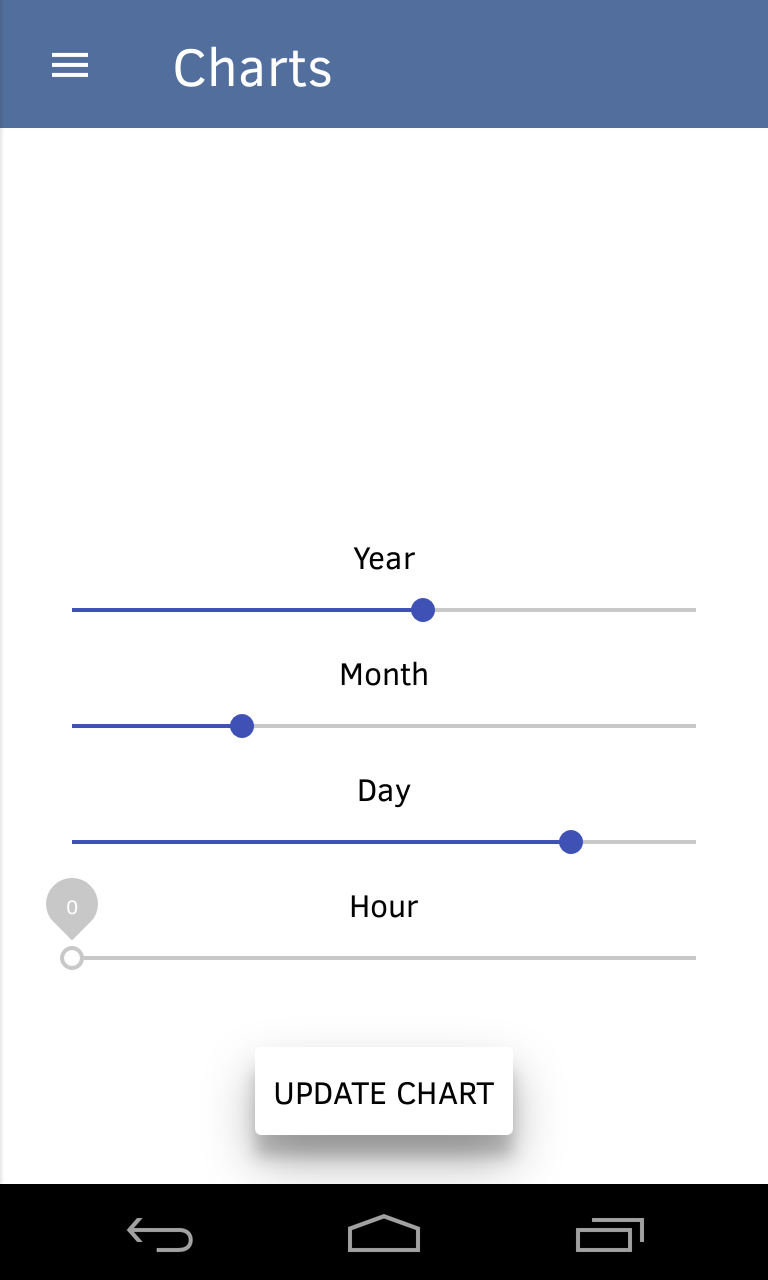
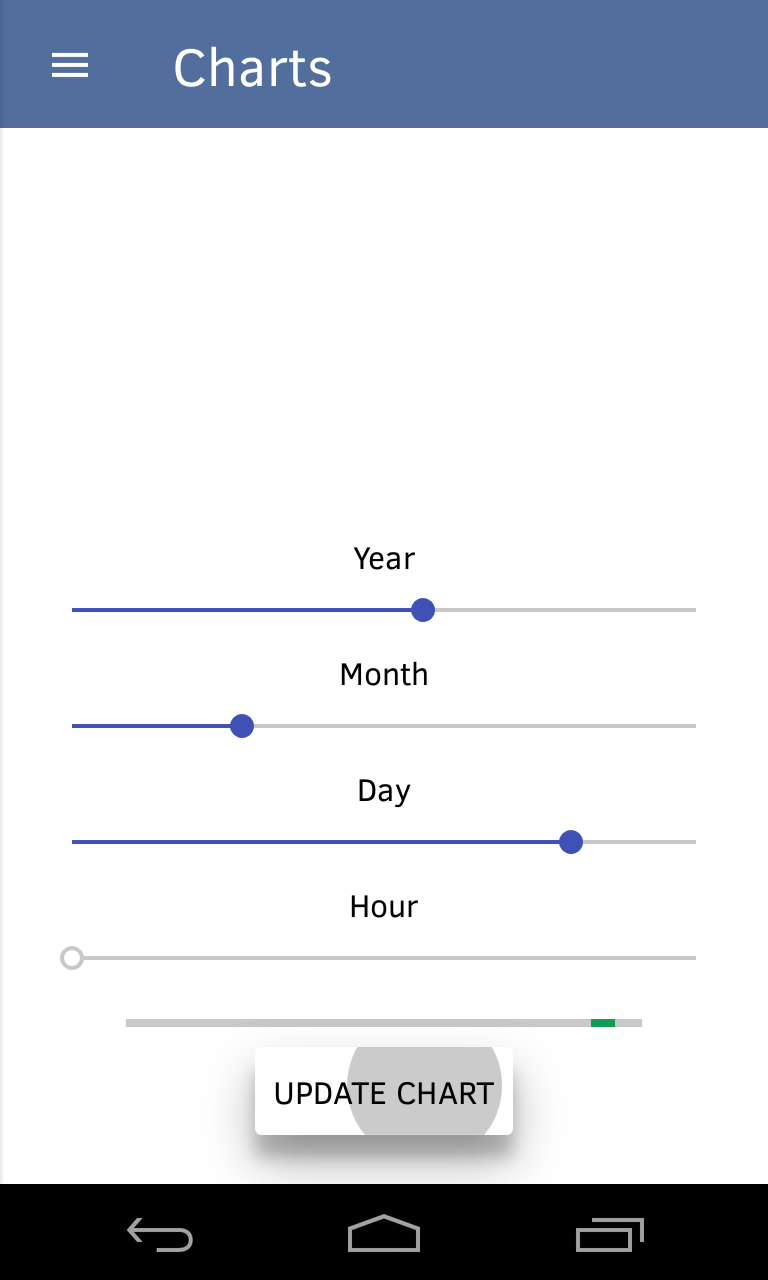
To view the saved data touch the hamburger menu, touch the “Charts” menu item, select an appropriate time range (by hour), and then touch the “Update Chart” button.